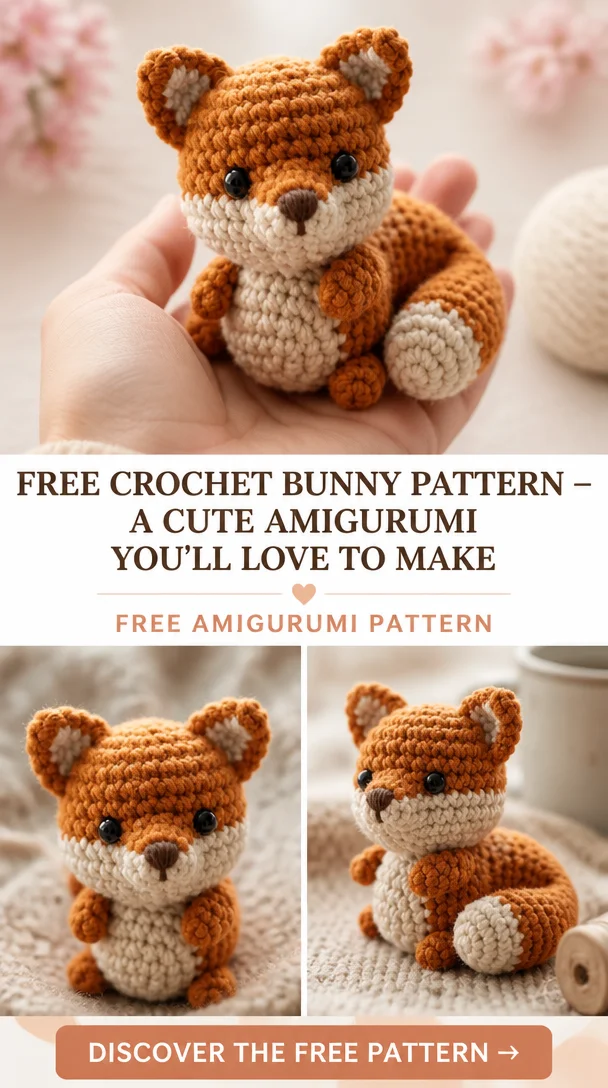
If you’re looking to create something cute and delightful, this playful otter amigurumi is the perfect project, designed to rest on its back just like a real otter floating in the water.
Quick Pattern Overview
| Skill level | Easy to intermediate |
| Finished size | About 16 cm (6.25 in) long |
| Yarn | DK or 8-ply cotton yarn, brown, plus cream for the belly |
| Hook size | 2.5 mm |
| Estimated time | 4 to 5 hours |
Materials You’ll Need
- DK cotton yarn in brown and cream
- 2.5 mm crochet hook
- 6 mm safety eyes, or thread to embroider the eyes
- Polyester stuffing
- Tapestry needle, stitch marker and scissors
Crochet Abbreviations
| MR | magic ring |
| ch | chain |
| sc | single crochet |
| inc | increase (2 sc in same st) |
| dec | decrease (sc 2 sts together) |
| st(s) | stitch(es) |
| FO | fasten off |
Before You Start
- Work in continuous rounds; do not join or turn.
- Use a stitch marker in the first stitch of each round.
- The number in brackets at the end of a round is your stitch count.
- Stuff firmly but stop before the stitches start to gap.
Free Crochet Otter Pattern
Head
- Round 1: 6 sc in MR (6, brown)
- Round 2: inc in each st (12)
- Round 3: (1 sc, inc) x 6 (18)
- Rounds 4 to 6: sc in each st (18, with a cream muzzle patch at the front). Add safety eyes between rounds 4 and 5, about 6 sts apart.
- Round 7: (1 sc, dec) x 6 (12). Stuff firmly.
- Round 8: dec x 6 (6). FO and close the hole.
Ears (make 2, tiny)
- Round 1: 6 sc in MR (6)
FO and leave a short tail. Do not stuff; flatten before sewing.
Body (long, with a cream belly)
- Round 1: 6 sc in MR (6, brown)
- Round 2: inc in each st (12)
- Round 3: (1 sc, inc) x 6 (18)
- Rounds 4 to 11: sc in each st (18), working a wide cream belly panel down one side
- Round 12: (1 sc, dec) x 6 (12). Stuff firmly.
- Round 13: dec x 6 (6). FO and close the hole.
Front Paws (make 2, small, often shown holding a tiny stone or shell)
- Round 1: 6 sc in MR (6)
- Rounds 2 to 3: sc in each st (6)
FO and leave a short tail. Stuff very lightly.
Back Feet (make 2, flat and webbed)
- Round 1: 6 sc in MR (6)
- Round 2: (1 sc, inc) x 3 (9)
FO and leave a short tail. Do not stuff; flatten into a webbed shape.
Tail (flat and wide)
Chain 10, sc in the 2nd chain from the hook and across (9 sts). Work 3 more rows of sc, 9 sts each. FO, leaving a long tail.
Assembly
- Sew the two tiny ears to the top of the head.
- Sew the head to the front of the body, cream patches aligned.
- Sew the front paws to the upper sides of the body, positioned so they can rest together on the cream belly.
- Sew the webbed back feet and flat tail to the lower back end of the body.
Facial Features & Finishing
Embroider a small dark nose at the front of the muzzle and a few short whisker stitches for a playful, curious expression.
Tips for a Better Result
- Use a hook one size smaller than the yarn label suggests, so no stuffing shows.
- Work rounds a little tighter than usual for a firm, well-shaped body.
- Count your stitches after every round to catch mistakes early.
Care & Safety
If this toy is for a baby or small child, embroider the eyes instead of using safety eyes. Spot clean with a damp cloth and let it air dry.
Frequently Asked Questions
0
Why pose the otter on its back?
1
Otters are famous for floating and resting on their backs, often holding a small stone, which makes for an especially charming and recognisable amigurumi pose.
Can I make a standing otter instead?
Yes, simply add two small back legs and position the paws and tail to support a standing or sitting pose instead.
Love playful water-loving animals? Browse all our free crochet patterns.




Leave a Reply