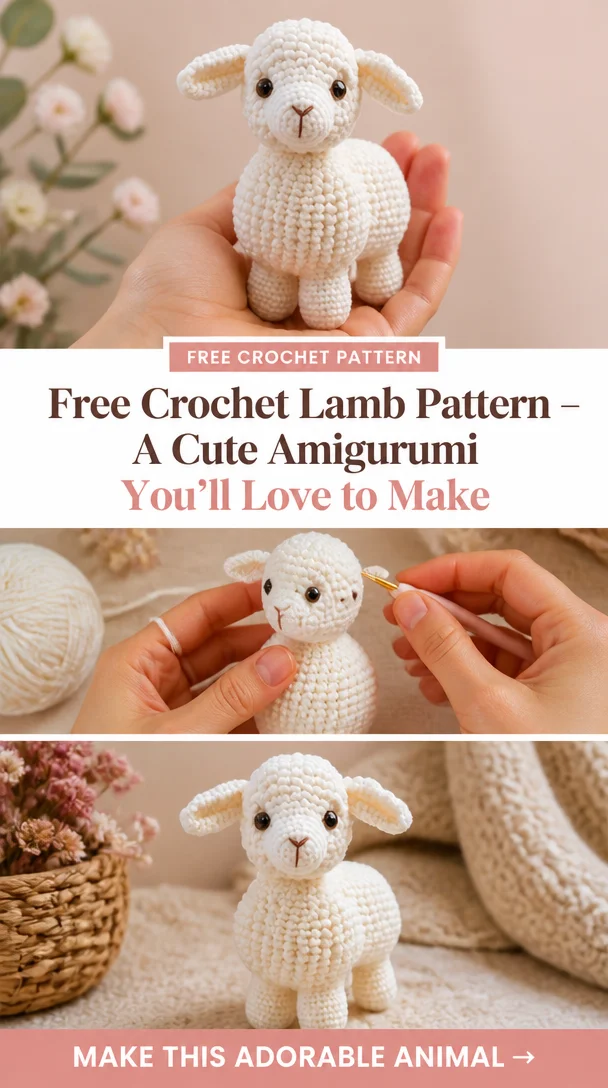
Amigurumi Lamb Free Crochet Pattern – Free Amigurumi
Crocheting an amigurumi lamb is a delightful way to create a handmade stuffed animal that brings joy and comfort. This charming project is perfect for creating a unique gift for a child or simply to add to your own collection of crochet creations. Amigurumi lambs are not only cute but also allow you to explore the versatility of crochet, with many opportunities for customization in color and accessories. Suitable for crocheters with a basic understanding of stitches, this free pattern guides you step-by-step to craft an adorable lamb that you can proudly display or gift.
Crochet Lamb Pattern Overview
- Skill level: Beginner-friendly
- Finished size: Approximately 8 inches (20 cm) tall
- Crochet hook: 3.5 mm (E)
- Yarn type: Worsted weight yarn
- Main colors: White, light pink, or colors of your choice
- Construction method: Amigurumi, working in continuous rounds
- Approximate time: 5-7 hours
Materials You’ll Need
- Worsted weight yarn (white and any accent colors)
- 3.5 mm (E) crochet hook
- Fiberfill stuffing
- Safety eyes (10 mm)
- Yarn needle for sewing
- Stitch marker
- Scissors
- Embroidery thread (for facial features)
Crochet Abbreviations
- ch: chain
- sc: single crochet
- inc: increase (2 sc in one stitch)
- dec: decrease (single crochet two together)
- rnd: round
Before You Start
- Work in continuous rounds to avoid a visible seam.
- Use a stitch marker to keep track of the beginning of each round.
- Check your stitch counts regularly to ensure even sizing.
- Stuff the lamb gradually to achieve the desired firmness.
- Keep track of rounds to ensure proper shaping.
Free Crochet Lamb Pattern
Head
Round 1: 6 sc in a magic ring (6)
Round 2: inc around (12)
Round 3: (sc, inc) around (18)
Round 4: (2 sc, inc) around (24)
Round 5-10: sc around (24)
Round 11: (2 sc, dec) around (18)
Round 12: (sc, dec) around (12)
Finish off and leave a long tail for sewing.
Body
Round 1: 6 sc in a magic ring (6)
Round 2: inc around (12)
Round 3: (sc, inc) around (18)
Round 4: (2 sc, inc) around (24)
Round 5-10: sc around (24)
Round 11: (2 sc, dec) around (18)
Round 12: (sc, dec) around (12)
Stuff firmly and leave a long tail for sewing.
Ears (Make 2)
Round 1: 6 sc in a magic ring (6)
Round 2: inc around (12)
Round 3-4: sc around (12)
Finish off and leave a long tail for sewing.
Arms (Make 2)
Round 1: 6 sc in a magic ring (6)
Round 2: inc around (12)
Round 3-4: sc around (12)
Finish off and leave a long tail for sewing.
Legs (Make 2)
Round 1: 6 sc in a magic ring (6)
Round 2: inc around (12)
Round 3-5: sc around (12)
Finish off and leave a long tail for sewing.
Tail
Round 1: 6 sc in a magic ring (6)
Round 2: inc around (12)
Finish off and leave a long tail for sewing.
Assembly
- Attach the head to the body, sewing securely around the neck seam.
- Position the ears on top of the head and sew in place.
- Sew the arms to the sides of the body.
- Attach the legs to the bottom of the body, ensuring they are evenly spaced.
- Attach the tail to the back of the body.
- Stuff the body as you go, ensuring it keeps a solid shape.
Facial Features and Finishing Details
- Attach safety eyes approximately three rounds below the head’s top, evenly spaced apart.
- Use embroidery thread to add a small mouth and nose. A simple “V” shape works well for the mouth.
- Optionally, add rosy cheeks with pink thread.
Tips for a Better Result
- Use a smooth yarn for a neater finish when working with small stitches.
- When changing colors, carry the unused yarn along the inside of the piece to avoid loose ends.
- Ensure stuffing is even to prevent lumps in the finished lamb.
Customization Ideas
- Change the color of the lamb to light blue, yellow, or other pastel shades.
- Add a bow or scarf for a personalized accessory.
- Use different yarn types for texture, like fluffy yarn for a woolly effect.
- Experiment with facial expressions by varying the embroidery or safety eye placement.
Common Problems and Troubleshooting
- Uneven stuffing: Add small amounts gradually until evenly distributed.
- Loose stitches: Ensure that your tension is consistent throughout the project.
- Incorrect stitch counts: Always check your stitch count at the end of each round.
- Assembly alignment: Pin pieces together before sewing to check positioning.
Care and Safety
When cared for properly, your handmade crochet lamb will last for years. If used as a toy, ensure safety eyes are securely attached to prevent choking hazards. Hand wash only and lay flat to dry to maintain the shape.
Frequently Asked Questions
- Is this crochet lamb pattern beginner-friendly?
Yes, this pattern is designed for those with basic crochet skills. - What yarn is best for this crochet lamb?
Worsted weight yarn works best for creating a sturdy but soft lamb. - How long does it take to crochet this animal?
On average, it takes 5-7 hours to complete this project. - Can I make this crochet animal larger or smaller?
Yes, you can use different yarn weights and hook sizes for a larger or smaller lamb. - Can I use different yarn colors?
Absolutely! Feel free to customize the lamb’s colors to suit your style. - How do I keep the finished animal in shape?
Store your amigurumi lamb in a dry place and reshape it if needed by lightly fluffing and adjusting the stuffing.
Conclusion
Making this adorable amigurumi lamb is a fun and rewarding crochet project. Whether you are gifting it or keeping it for yourself, the joy it brings will be well worth the effort. Grab your yarn and crochet hook, and let your creativity shine!




Leave a Reply